How to Connect a Canon Printer to a Mac Computer
You can connect a compatible Canon printer to a Mac using WiFi or USB. For wireless printing, connect the printer and Mac to the intended network, then add the printer through macOS Printers & Scanners. Many compatible models can use AirPrint, while some printers or additional functions may require model-specific Canon software.
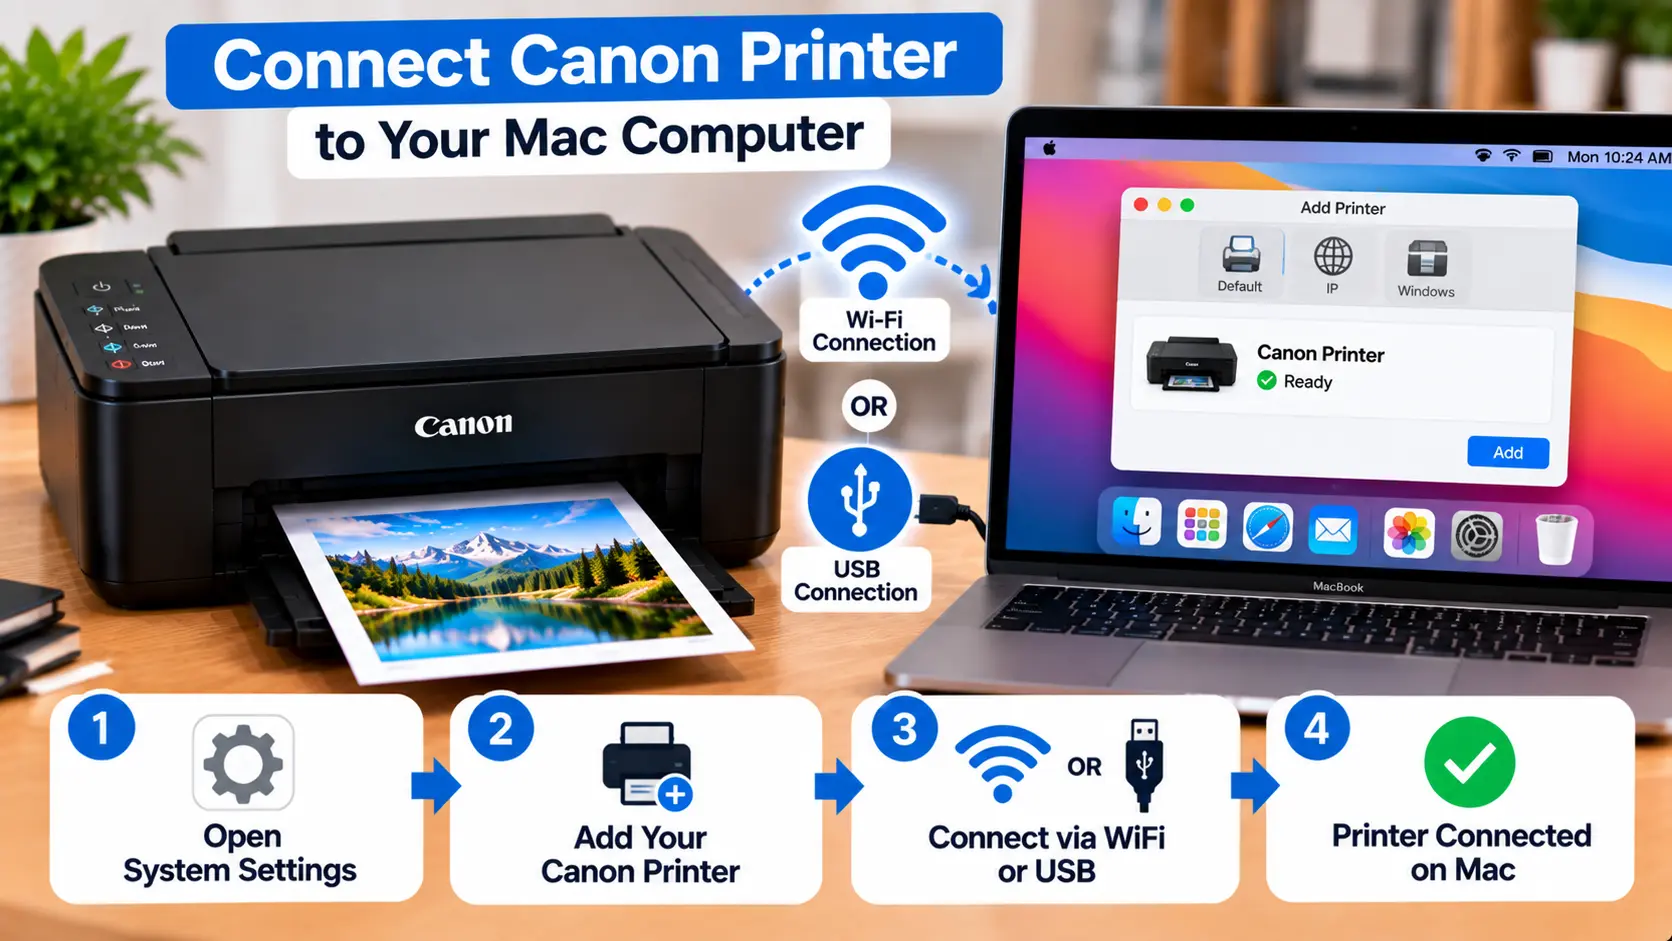
How Do I Connect My Canon Printer to My Mac?
For WiFi setup, first connect the Canon printer to the same intended wireless network as your Mac. Then open Apple menu > System Settings > Printers & Scanners and choose Add Printer, Scanner, or Fax. Select your printer when it appears, verify the appropriate option in the Use field, and add it. For a USB setup, connect a compatible USB cable or adapter and allow macOS to detect the printer.
Before Connecting Your Canon Printer to a Mac
A few basic checks can make the setup process easier.
- Confirm the exact Canon printer model.
- Turn on the printer and let startup finish.
- Make sure the printer is not displaying a blocking error or support code.
- Confirm that WiFi is available if you want a wireless connection.
- Know the correct WiFi network name and password if your model requires them during setup.
- Make sure the Mac is connected to the intended network.
- If using USB, have a suitable cable and any required Mac adapter available.
How to Connect a Canon Printer to Mac Using WiFi
Wireless setup normally has two parts. First, the printer must join the wireless network. Second, macOS must discover and add the printer.
Step 1: Turn On the Canon Printer
Turn on the printer and wait until it is ready. Resolve any printer-side error before starting the wireless setup.
Step 2: Connect the Printer to WiFi
Use the wireless setup method supported by your exact Canon model.
Depending on the model, setup may involve the printer's display, an Easy Wireless Connect procedure, manufacturer setup software, or another documented network setup method.
If the printer has a display, supported models may allow you to select the wireless network and enter its password directly from the printer.
For detailed Canon WiFi troubleshooting, see: How to Connect Canon Printer to WiFi .
Step 3: Check the Mac's WiFi
Confirm that the Mac is connected to the intended wireless network.
For normal AirPrint use, the Mac and printer should be connected to the same WiFi network.
How to Add a Canon Printer to Mac
Once the printer is connected and available, add it through macOS.
- Open the Apple menu.
- Choose System Settings.
- Select Printers & Scanners.
- Choose Add Printer, Scanner, or Fax.
- Wait for the Mac to search for available printers.
- Select the correct Canon printer.
- Check the option shown in the Use field.
- Click Add.
Canon's current Mac documentation for compatible models commonly identifies network printers using Bonjour. Depending on the model and setup, the Use field may offer the printer itself or Secure AirPrint.
Do not select a different printer simply because it has a similar model name.
Connect a Canon Printer to Mac Using AirPrint
AirPrint is Apple's built-in printing technology. If your Canon printer supports AirPrint, additional printer drivers are generally not required for normal AirPrint printing.
The basic AirPrint setup is:
- Connect the AirPrint-compatible printer to the WiFi network.
- Connect the Mac to the same WiFi network.
- Open System Settings > Printers & Scanners.
- Add the printer if it has not already been added.
- Open a document or image.
- Choose File > Print.
- Select the Canon printer.
- Choose the required print settings and print.
How to Connect a Canon Printer to Mac Using USB
A USB connection can be useful when you do not want to use WiFi or when troubleshooting a network connection.
- Turn on the Canon printer.
- Connect the appropriate USB cable to the printer.
- Connect the other end to the Mac or to a compatible adapter if the Mac requires one.
- Wait for macOS to detect the printer.
- Open System Settings > Printers & Scanners to confirm the printer is available.
- Add the printer manually if required by the particular setup.
- Send a test print.
Canon documents that on some current printer models, connecting the printer to a Mac through USB can add the printer automatically.
If the printer is not detected, check the cable, Mac port, adapter, printer power, and model compatibility before reinstalling software.
Can USB Be Used to Help Set Up WiFi?
For some printer setups, a temporary USB connection can be used with manufacturer software to help configure wireless printing.
Apple notes that some AirPrint printers can be connected to a Mac by USB while a printer setup assistant configures the printer for the WiFi network. After setup, the USB cable can be disconnected and the printer can remain on WiFi.
This is not a universal procedure for every Canon model. Follow the setup instructions for the exact printer before connecting or disconnecting cables during installation.
Do I Need Canon Printer Software on Mac?
It depends on the printer and the features you need. An AirPrint-compatible printer can perform normal AirPrint printing without installing an additional printer driver.
However, Canon may provide model-specific software or utilities for setup, scanning, maintenance, or other printer functions.
Before installing software:
- Confirm the exact Canon printer model.
- Check the macOS version installed on the Mac.
- Check current compatibility information for the printer.
- Use software intended for the exact model and operating system.
- Avoid unknown third-party driver download websites.
How to Test the Canon Printer on Mac
After adding the printer, perform a simple test before changing more settings.
- Open a small document or image.
- Choose File > Print.
- Confirm that the correct Canon printer is selected.
- Review basic print settings.
- Click Print.
If the job does not print, check the printer queue and printer status before repeating the setup.
Check the Printer Queue on Mac
macOS Print Centre can display printers and current print jobs.
You can access a printer queue through:
Apple menu > System Settings > Printers & Scanners > select the printer > Printer Queue
Check for a paused printer, paused job, or failed print job. Resume or cancel jobs as appropriate before testing again.
Canon Printer Not Showing Up on Mac?
If the printer does not appear when you try to add it, work through the following checks.
Check Printer Power
Make sure the Canon printer is turned on and has completed startup.
Check WiFi
For a wireless setup, confirm that the printer is connected to the intended router and that the Mac is on the appropriate network.
Wait for Printer Discovery
A network printer may take a short time to appear in the Add Printer window. Allow macOS time to search before closing the window.
Check Security or Firewall Software
Canon documentation notes that firewall or security software can affect printer detection in some network setup situations. Review the software's settings rather than permanently disabling security protection.
Check USB Hardware
For USB, inspect the cable, port, and any adapter or hub between the printer and Mac.
Remove and Add the Printer Again
If an existing printer entry no longer works, removing and re-adding the correct printer can help refresh the macOS printer configuration.
Open:
System Settings > Printers & Scanners
Remove the affected printer only when appropriate, then choose Add Printer, Scanner, or Fax and add the correct device again.
Canon Printer to Mac Troubleshooting
| Problem | What to Check |
|---|---|
| Canon printer not found | Check printer power, network connection, macOS printer discovery, and security software. |
| WiFi printer not appearing | Confirm the printer and Mac are on the intended network and verify the printer's wireless status. |
| USB printer not detected | Check the USB cable, Mac port, adapter or hub, and printer power. |
| Printer added but not printing | Check the printer queue, printer status, connection, and selected printer. |
| AirPrint option unavailable | Confirm that the exact printer model supports AirPrint and check its current setup. |
| Printer worked before but disappeared | Check for a changed WiFi network, router change, disconnected USB hardware, or old printer entry. |
Common Mac Printer Setup Mistakes
- Adding the printer before it has joined WiFi.
- Connecting the Mac and printer to different networks.
- Selecting a similar but incorrect printer entry.
- Assuming every Canon model supports the same wireless setup procedure.
- Installing unnecessary third-party driver utilities.
- Ignoring an error displayed directly on the printer.
- Factory-resetting the printer before checking basic connectivity.
- Using another Canon model's button sequence.
Related Canon Printer Guides
Frequently Asked Questions
How do I connect my Canon printer to my Mac wirelessly?
Connect the Canon printer to your WiFi network, make sure the Mac is on the intended network, then open System Settings > Printers & Scanners and choose Add Printer, Scanner, or Fax. Select the correct printer and add it.
Why is my Canon printer not showing up on my Mac?
Check printer power, WiFi or USB connectivity, the printer's network status, and any security software that may interfere with network discovery. Also allow time for the printer to appear in the Add Printer window.
Do I need a Canon driver to print from Mac?
Not always. If the exact Canon model supports AirPrint, normal AirPrint printing does not require an additional printer driver. Some models or additional printer functions may use Canon software or utilities.
Can I connect my Canon printer to Mac with USB?
Yes, if the printer supports USB connection and you have the appropriate cable and Mac adapter when required. Some Canon models can be added automatically by macOS when connected through USB.
Should my Mac and Canon printer be on the same WiFi?
For normal AirPrint printing, Apple instructs users to connect the Mac and AirPrint printer to the same WiFi network.
What is Bonjour when adding a Canon printer?
Bonjour is Apple's network discovery technology. Canon documentation for compatible models may show the printer as a Bonjour or Bonjour Multifunction device when adding it to a Mac.
Final Canon Printer to Mac Setup Checklist
- Canon printer is turned on and ready.
- Exact printer model has been confirmed.
- No blocking printer error remains.
- Printer is connected by WiFi or USB.
- Mac is on the intended WiFi network for wireless printing.
- Printers & Scanners has been checked.
- Correct Canon printer entry has been selected.
- AirPrint compatibility has been checked when relevant.
- Canon software has been installed only if needed for the model or required features.
- A test print has been attempted.